
Understanding the Tire Repair Process: What to Expect


Introduction to Tire Repair
Experiencing a flat tire can be a frustrating ordeal, but understanding the tire repair process can ease your worries. Whether you're facing a puncture or a slow leak, knowing what to expect during a tire repair can save you time and ensure your vehicle is safe to drive.
The good news is that modern tire repair techniques are highly effective, allowing many tires to be restored to full functionality. This guide will walk you through the typical steps involved in tire repair, so you know exactly what happens when you bring your car into the shop.
Initial Inspection
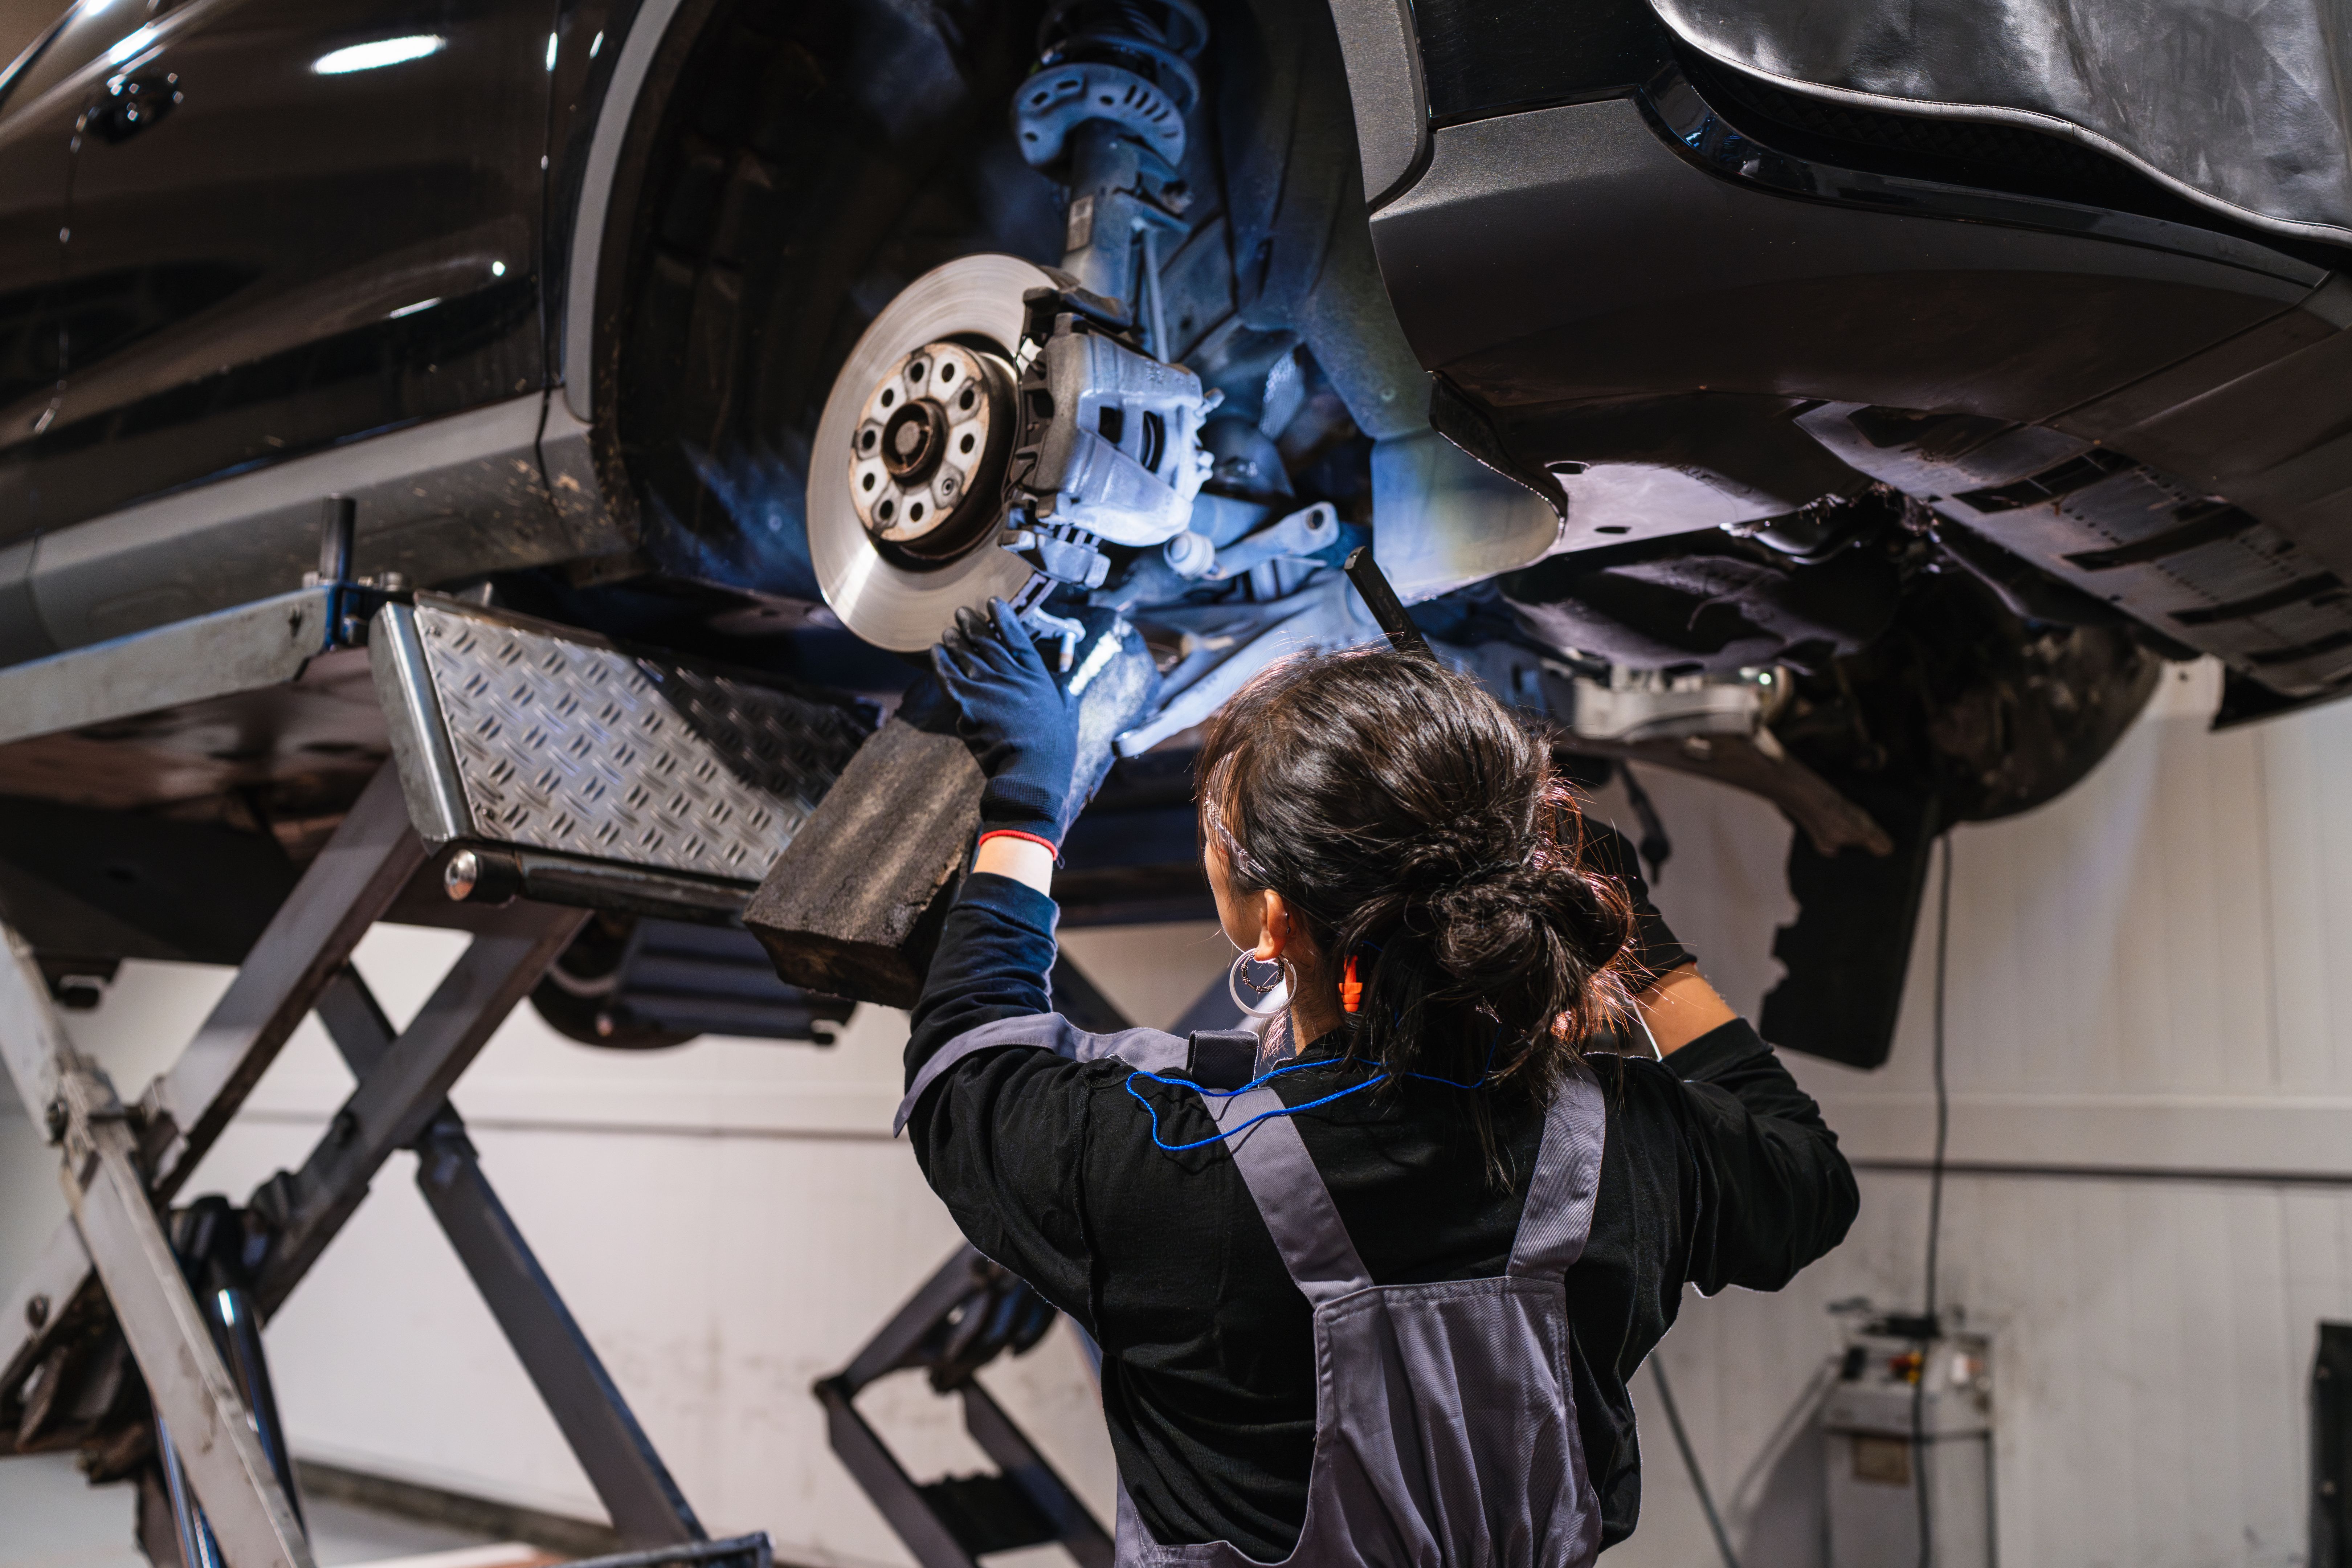
The tire repair process begins with a thorough inspection. A professional will first look at the exterior of the tire to identify visible damage such as nails, screws, or other debris. They may also check for any cuts or abrasions on the tire's surface.
Next, the technician will remove the tire from the wheel and inspect the interior. This step is crucial because some damage may not be visible from the outside. An internal examination helps determine if the tire can be repaired or if it needs to be replaced entirely.
Common Causes of Tire Damage
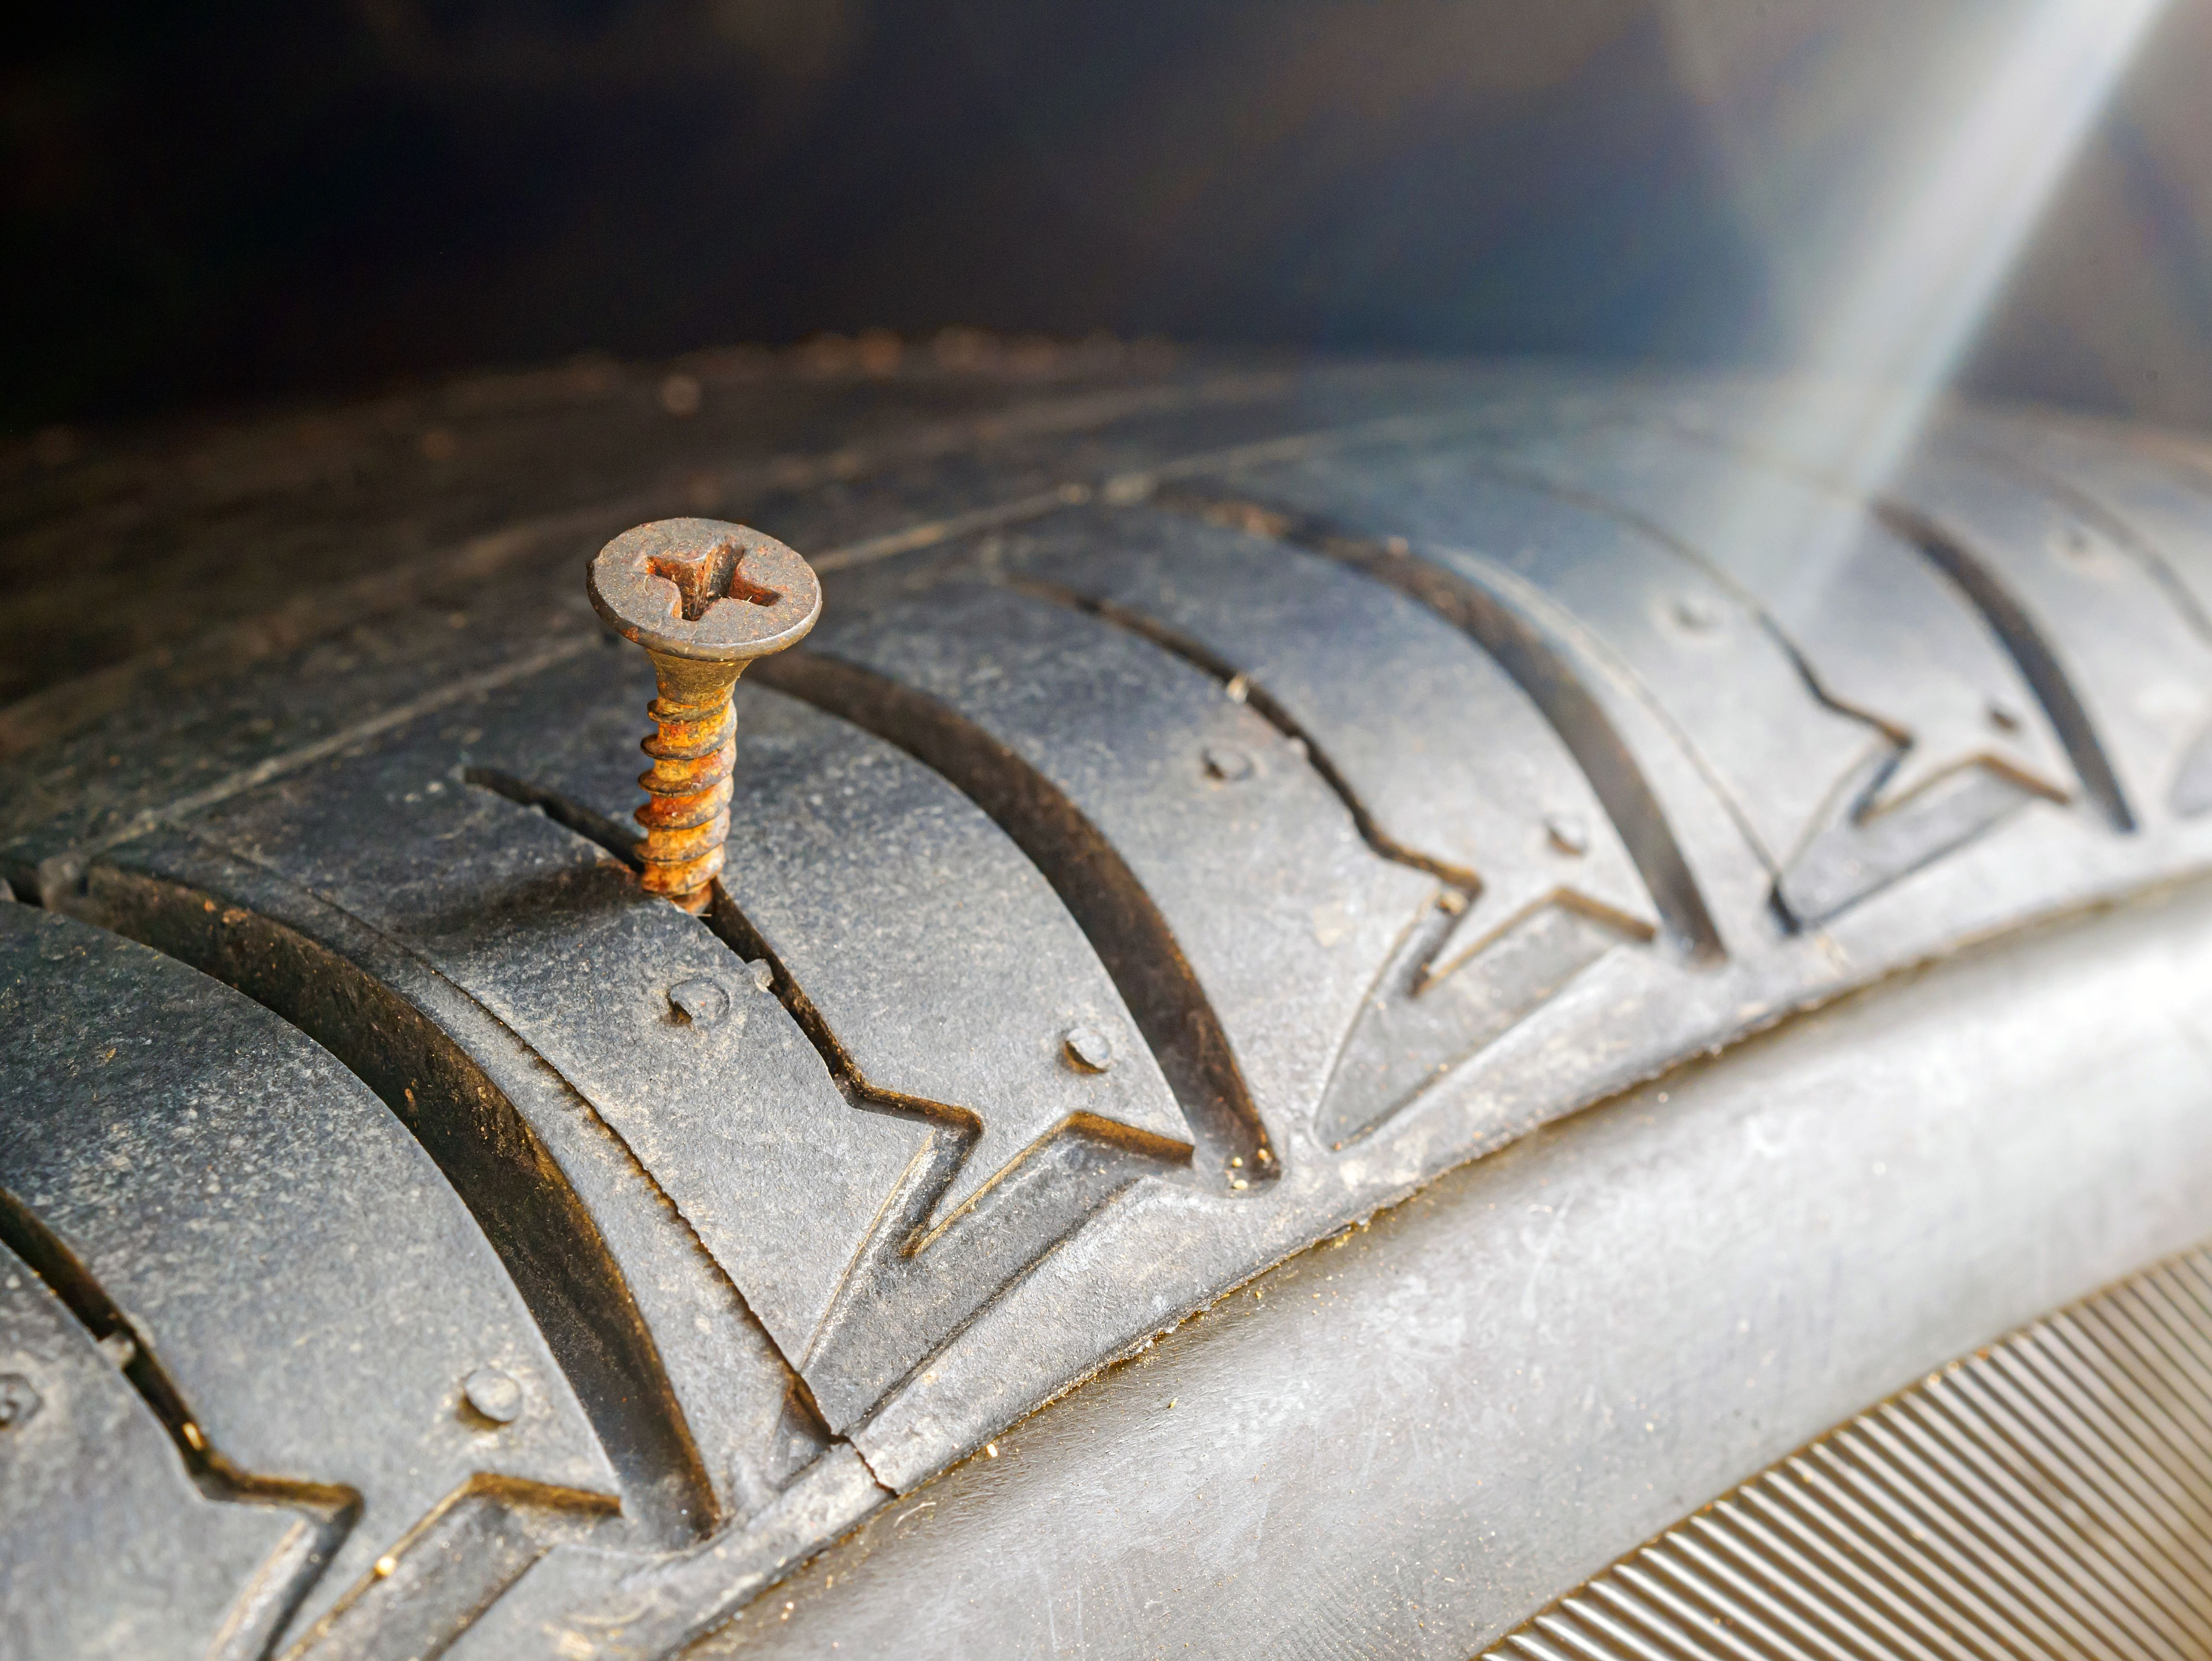
- Punctures from nails or sharp objects
- Impact damage from potholes or curbs
- Wear and tear due to prolonged use
The Repair Process
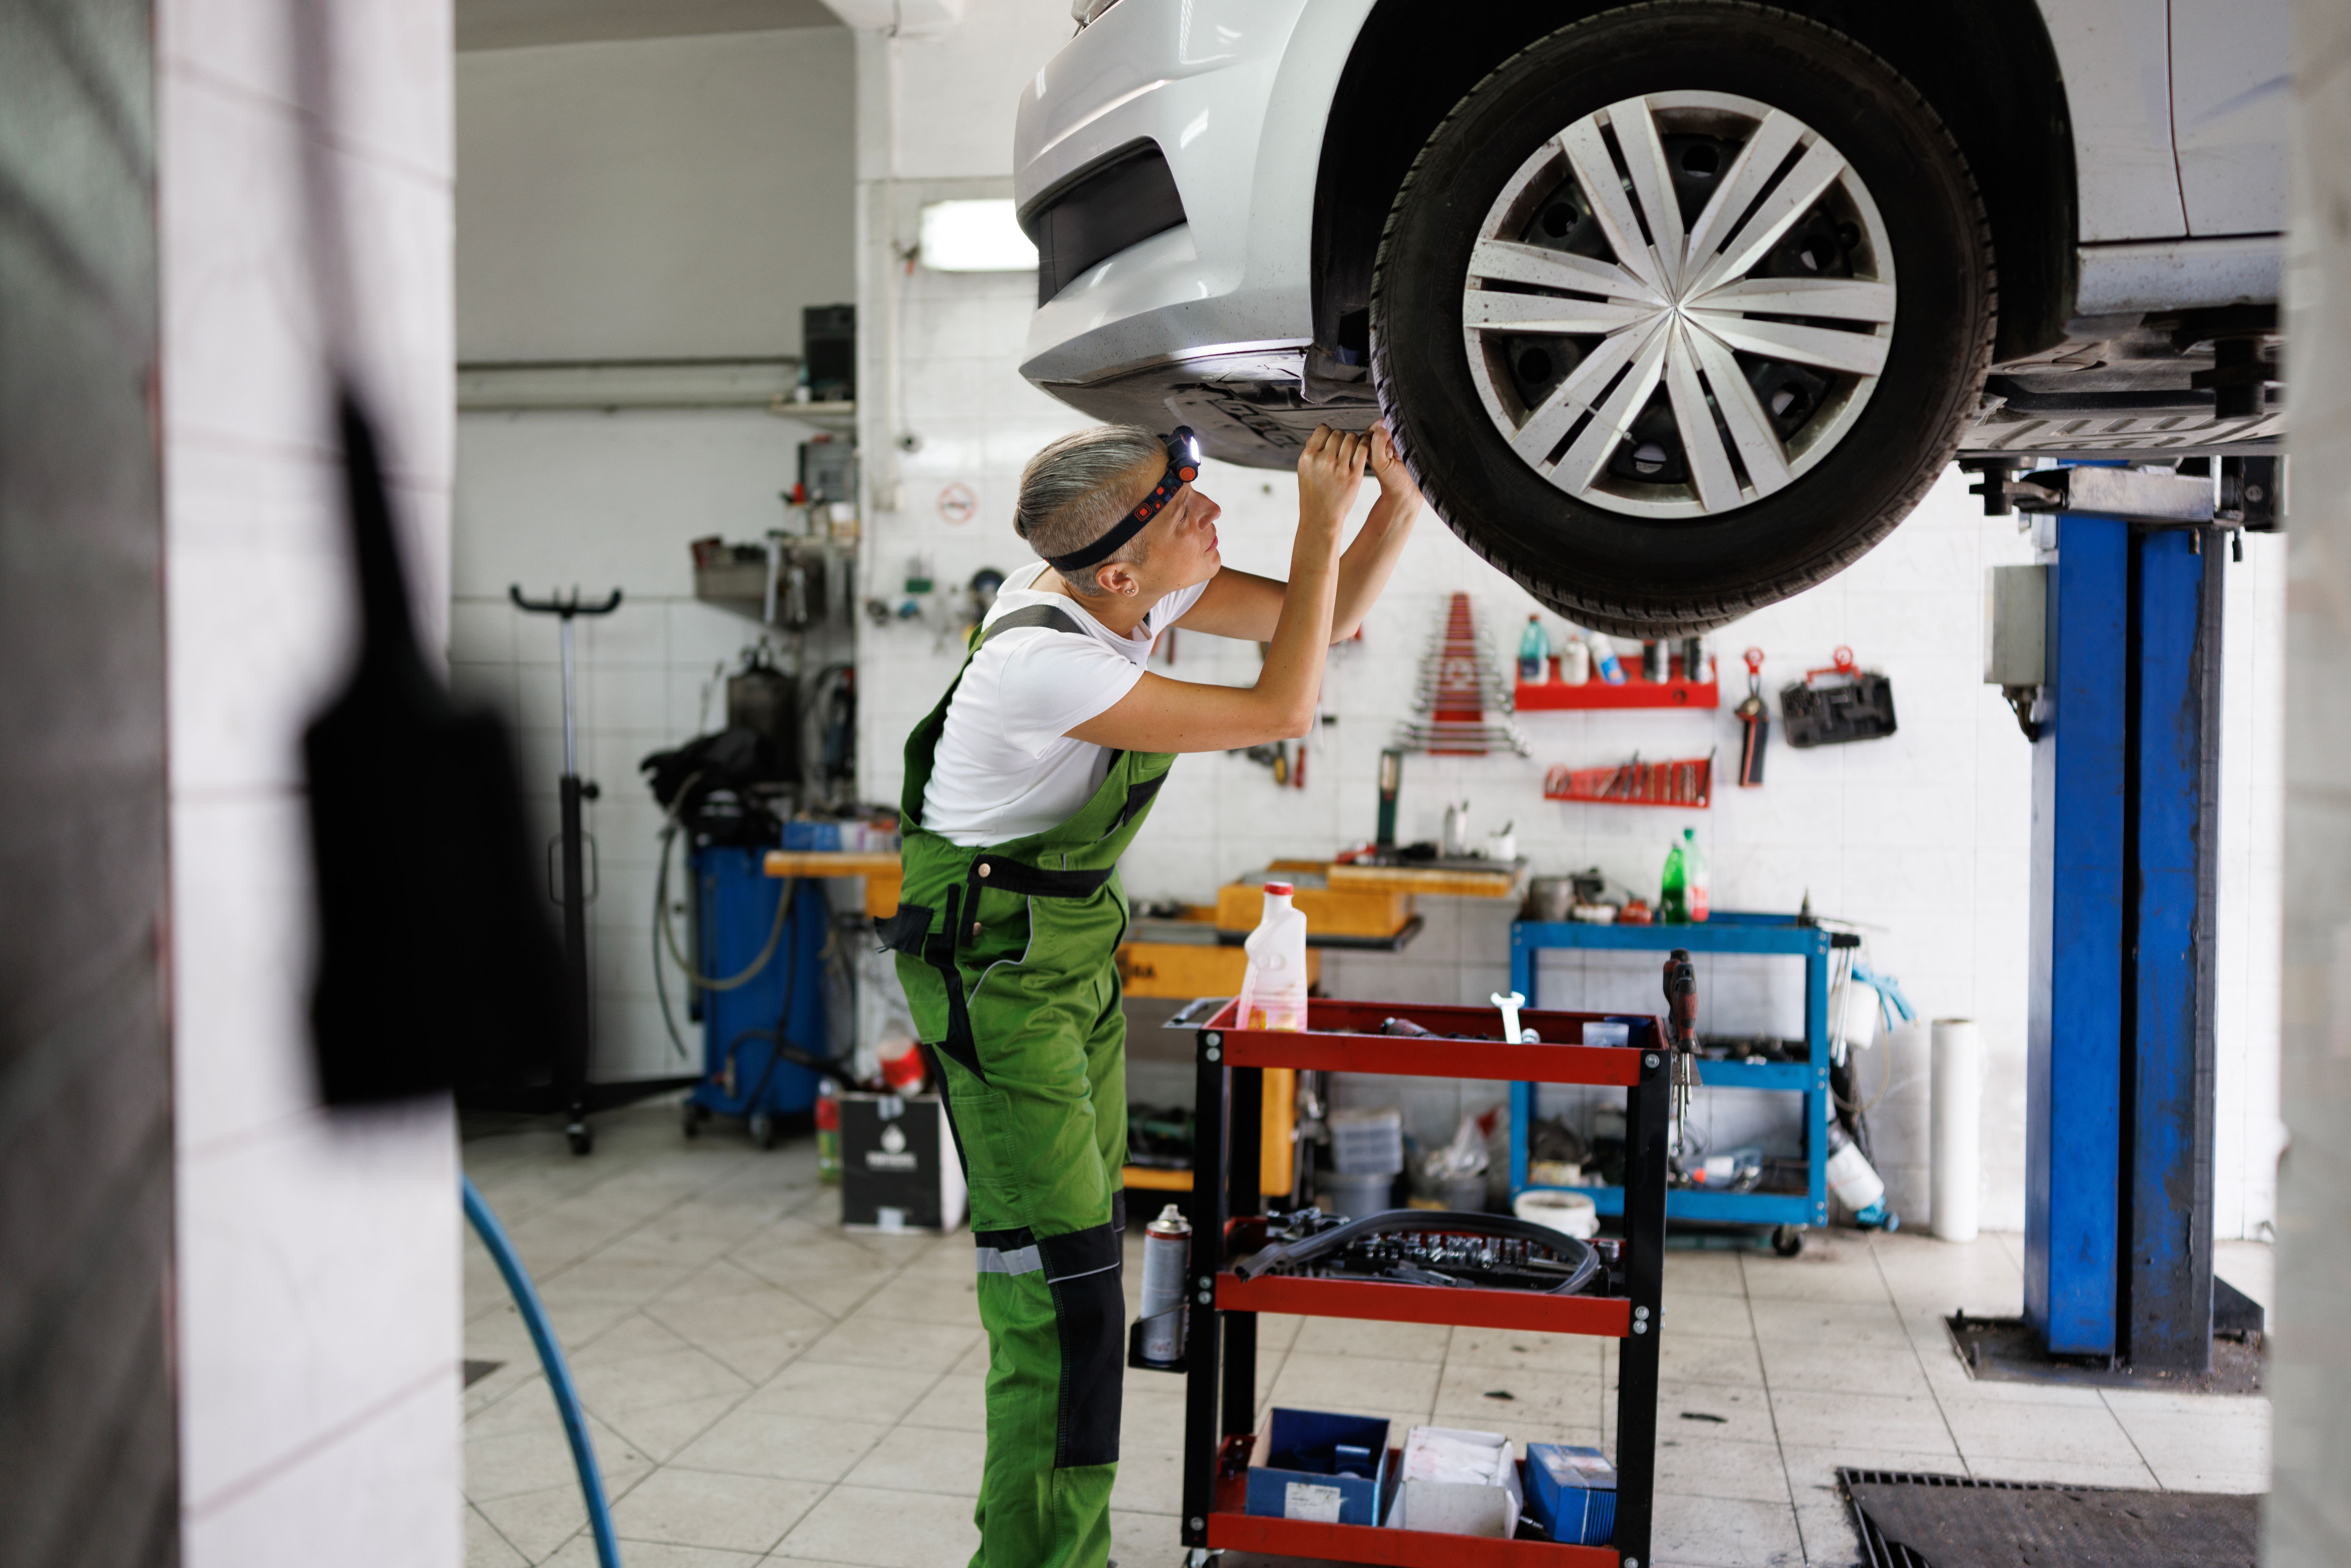
Once the inspection is complete, the technician will decide on the best method for repair. The most common technique is using a patch or plug, especially for punctures located in the tread area of the tire. It's important to note that sidewall damage often requires tire replacement, as it compromises structural integrity.
If a patch is applied, the tire must be removed from the wheel. The technician will clean and roughen the area around the puncture to ensure the patch adheres correctly. After applying a special adhesive, the patch is firmly pressed onto the damaged area.
The Plug Method
For minor punctures, a plug may be used. This involves inserting a rubber plug into the hole from the exterior of the tire. While quick and effective, plugging is typically seen as a temporary fix and is best used in conjunction with a patch for lasting results.
Final Steps and Testing
After repairing the tire, it's reassembled onto the wheel and balanced. Balancing ensures that weight is evenly distributed across the tire, preventing vibrations and uneven wear. The technician will then inflate the tire to its recommended pressure.
A final inspection involves checking for leaks by submerging the tire in water or using a soapy solution. If no air bubbles appear, it means the repair was successful, and the tire is ready to return to service.
When Replacement is Necessary
In some cases, repair isn't possible, especially if there's significant sidewall damage or an irreparable puncture. In such scenarios, purchasing a new tire is essential for safety reasons.

Conclusion
Understanding the tire repair process equips you with the knowledge to make informed decisions about your vehicle's maintenance. By knowing what to expect at each step, you can communicate effectively with technicians and ensure your tires are safe and reliable.
Whether it's a quick plug or a more involved patch repair, addressing tire issues promptly can prevent further damage and prolong the life of your tires. Always consult with professionals when in doubt, ensuring that your vehicle remains roadworthy and safe.